Leopard print has been everywhere this year and appears set to remain so. It embodies sophistication, luxury, and rebelliousness – just like Eartha Kitt!
Make use of light brown buttercream and pipe rough ‘c’ shapes all over an acetate surface, stopping where the spots begin. Chill in the fridge until firm to touch.
How to make the spots
Making leopard print cakes is relatively straightforward. First, add one tablespoon of cocoa powder to approximately 3/4 cup vanilla batter and fold gently before taking a piece of light brown dough and flattening it out using a rolling pin so as to cover as much area of your cake tin as possible (don’t worry if this doesn’t happen ultimately).
Place this on top of the dark brown dough and gently wrap it around, but try not to be too neat and precise when doing this step; random variations in thickness and shape will help create more realistic-looking leopard spots!
Once your leopard spot is completed, gently knead it again to ensure all layers are tightly attached before leaving it to rise once more for about 30 minutes. When done, place the spot into the fridge until chilled before carefully peeling away its paper backing and pressing onto your cake’s buttercream surface.
Repeat this process approximately 60 times to cover a tall 6-inch round cake (or larger) – however, don’t panic if one or two don’t look quite right – they won’t ruin its aesthetic and still add a fantastic element of authenticity!
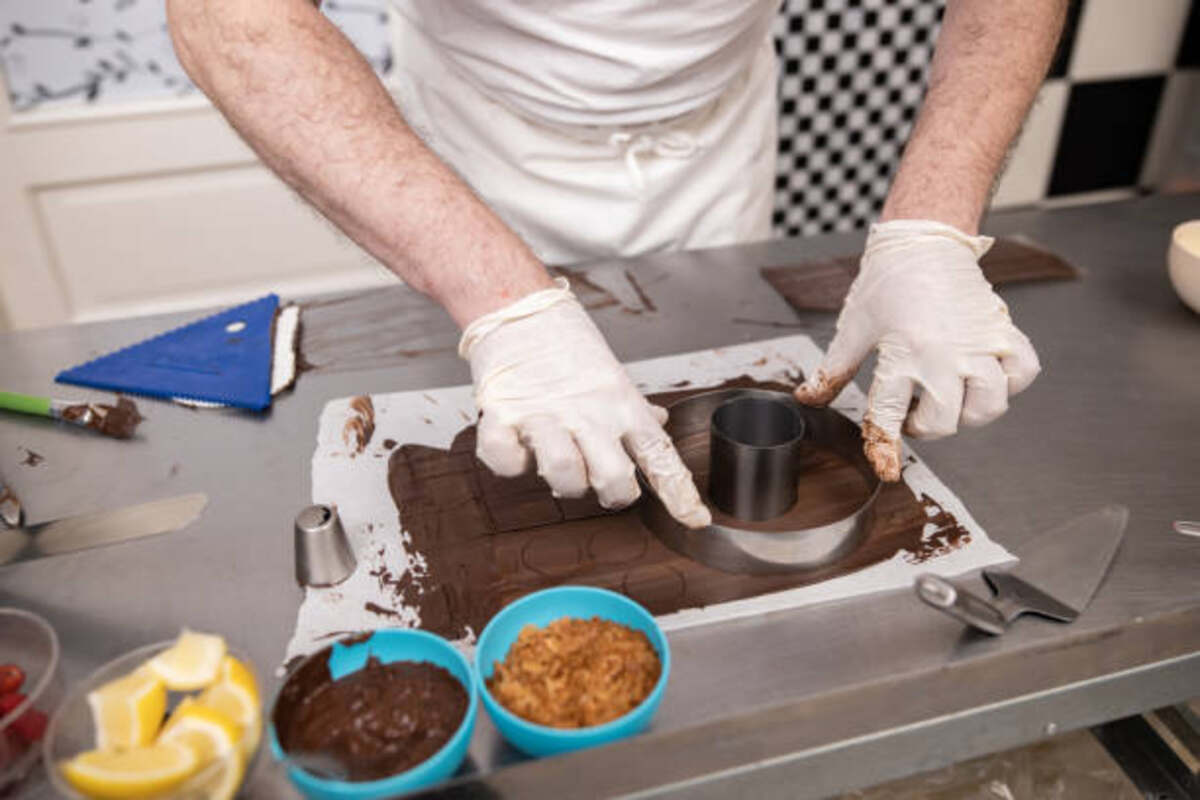
As your spots chill, prepare the remaining ingredients. For this recipe, you will require either a ring-shaped cake tin or bundt pan with a deep base and removable collar, as well as large sheets of greaseproof or parchment paper for the bottom, plus an acetate sheet to cover the top of the cake.
To create the cake, follow these instructions for my “perfect” vanilla sponge cake and allow it to set and cool before icing it ivory with some small patches of white. Next, use a black buttercream pipe with rough c-shaped marks across it using tip 3, using heavier pressure in some areas and lighter pressure elsewhere.
Once your cake has its spots in place, chill it before peeling away the acetate – your delicious leopard print cake awaits!
The cake
Leopard print frosting is a trendy cake decorating idea, perfect for any cake and with any type of cake decoration theme. Although you could use any color frosting you like, I used light brown so as to complement both spots and colors of chocolate leopards.
Begin by creating the base of your cake. Any recipe for sponge cake works great here; add a crumb coat before beginning decoration of it.
Next comes the leopard spot pattern – use some light brown buttercream and pipe tiny squiggles of it along one long side and from one short end to the other, stopping just short of reaching the top edge, or else you will end up covering your cake in spots!
While your spots are chilling in the refrigerator, make leopard chocolates! All it takes to create these delightful treats is some plain white chocolate and semisweet or dark chocolate that are combined at 80% power in the microwave until almost fully melted before adding yellow gel or food coloring (any oil-based gel works perfectly) for that snow leopard hue. Adding in orange or brown can also give a more natural dye!
The filling
Once the cake has cooled completely and you’ve added spots, it’s time to create its filling. Divide your batter into six portions and color them using rainbow hues; once completed, transfer each dye to its piping bag and start piping! Please take out your leopard parchment sheet from the freezer and carefully pipe rows of color onto it until a rainbow pattern appears on top. After baking at 350F for 10-12 minutes, invert onto wax paper dusted with powdered sugar for cooling before flipping back over onto its serving platter or cake board for complete cooling before spreading with whipped cream.
Before the acetate is taken away from your frosting, start to pipe little squiggles of light brown buttercream over it all over. Do this on both the long side, which will become your cake’s base, as well as down short sides if desired; do not go all the way up to its top for more fullness.
Now, to create the chocolate leopard print effect, melt both white and dark chocolate together in the microwave at 80% power, adding yellow gel, orange, and brown dyes in small doses until you achieve an authentic leopard yellow shade. Once this step has been completed, transfer your newly colored chocolate to silicone molds before pressing a dot of buttercream or melted chocolate where desired on your cake to add the leopard print design and leave to set for several hours before pressing onto cake toppers or other dessert surfaces.
The decorations
If you’re feeling adventurous, try creating your leopard print fondant shapes to decorate a cake. For this, make some light brown fondant and mix in some tylose powder (available from baking shops) for quicker drying times. Next, roll it out to about 1/8 inch thickness before cutting out shapes with desired shapes, adding additional brown as needed for a darker effect if necessary. Alternatively, if painting spots are your preference, you could either use coloring gel or food writer pens; for food writer pens, I typically mix coloring gel with a small amount of vodka and then apply with a brush like ordinary watercolor paint!
Once your frosting has set, carefully unwrap and peel back the acetate to reveal your chic leopard print cake! If you want to attach any chocolates or decorations onto it, dot a dollop of buttercream or melted chocolate onto the board where you would like the chocolate to go and then press in plain white chocolate pieces until the icing or chocolate sets; the work won’t move around anymore once secured into place!
For an elegant gold finish to the top of your cake, follow a similar procedure. Instead of placing plain white chocolate in the center, take a small ball of golden luster dust and coat it by shaking it over the cake – don’t be shy about using lots of powder!