Remember battling it out in Mario Kart 64 or teaming up in Turtles in Time on a Saturday afternoon? The friendly rivalry, the snacks, the controllers—it was the best of times. But what happens when those friends now live hundreds of miles away? With a little modern magic, you can get that exact feeling back, no matter the distance. To know more, check out ufalion168
Playing emulated games online reconnects you with those classic multiplayer memories. The core idea is simple: using software called an “emulator,” your computer can perfectly imitate an old game console. By connecting your virtual console to a friend’s over the internet, you can trick those classic games into thinking you’re both sitting on the same couch.
In practice, there are two main ways to achieve this. The first is an incredibly easy “screen sharing” method that works like a virtual couch, getting you playing in just a few minutes. The second is the more traditional “netplay” approach built directly into many emulators, which can provide a smoother experience for those willing to do a little extra setup.
Don’t worry if any of that sounds complicated. We’ll walk you through both paths, step-by-step, using the most popular and user-friendly tools available.
Your Pre-Game Checklist: What You and Your Friend BOTH Need
Before you can jump into a game, you and your friend need to get your digital gear in order. Think of it as a pre-flight check to make sure your co-op mission goes smoothly. The most important rule for playing these games online is that your setups must be identical. Here’s a quick list of what you both need to have ready:
- A decent computer (PC or Mac)
- A stable internet connection
- A controller (like an Xbox or PlayStation controller)
- The exact same emulator program and version
- The exact same game file, known as a ROM
An emulator is simply the program that acts like a virtual game console on your computer. It pretends to be a Super Nintendo or PlayStation so your PC can understand its games. The ROM, then, is the virtual game cartridge. If the emulator is the console, the ROM for Mario Kart 64 is the game you digitally plug into it.
Having identical files is non-negotiable. If your friend is using a slightly different version of the emulator or ROM, your games won’t be able to communicate with each other. This is the most common reason online sessions fail. Once you’ve confirmed you both have matching files, you’re ready to get connected.
The Easiest Method: ‘Virtual Couch’ Gaming with Parsec
Instead of trying to sync two separate games over the internet, an app called Parsec works like a high-performance video stream. It creates a “virtual couch” where your friend can see your screen and use their own controller. This is by far the simplest way to get a game running online.
One person—the host—runs the emulator and game on their computer. Your friend, the guest, simply connects to your screen. They see exactly what you see, and when they press a button on their controller, Parsec zaps that command to your PC instantly. This is a massive advantage because only the host needs to have the emulator and game file.
The trade-off for this simplicity falls on the host’s internet connection. Because they are streaming the game to their friend, a strong and stable upload speed is critical. A slow upload will result in a choppy, unplayable experience for the guest, no matter how fast their own internet is. If the host’s connection is solid, however, Parsec is often the fastest and most reliable path to playing together.
How to Host a Game Using Parsec: A 5-Minute Setup
Setting up Parsec for retro gaming is incredibly straightforward. As the host, you are the only one who needs to follow these steps:
- Download and Install: Go to the Parsec website, download the application for your computer, and create a free account.
- Start Your Game First: Before you share anything, open your emulator and load the game you want to play (e.g., Mario Kart 64). Get it running and sitting on the main menu. This is the screen your friend will see when they connect.
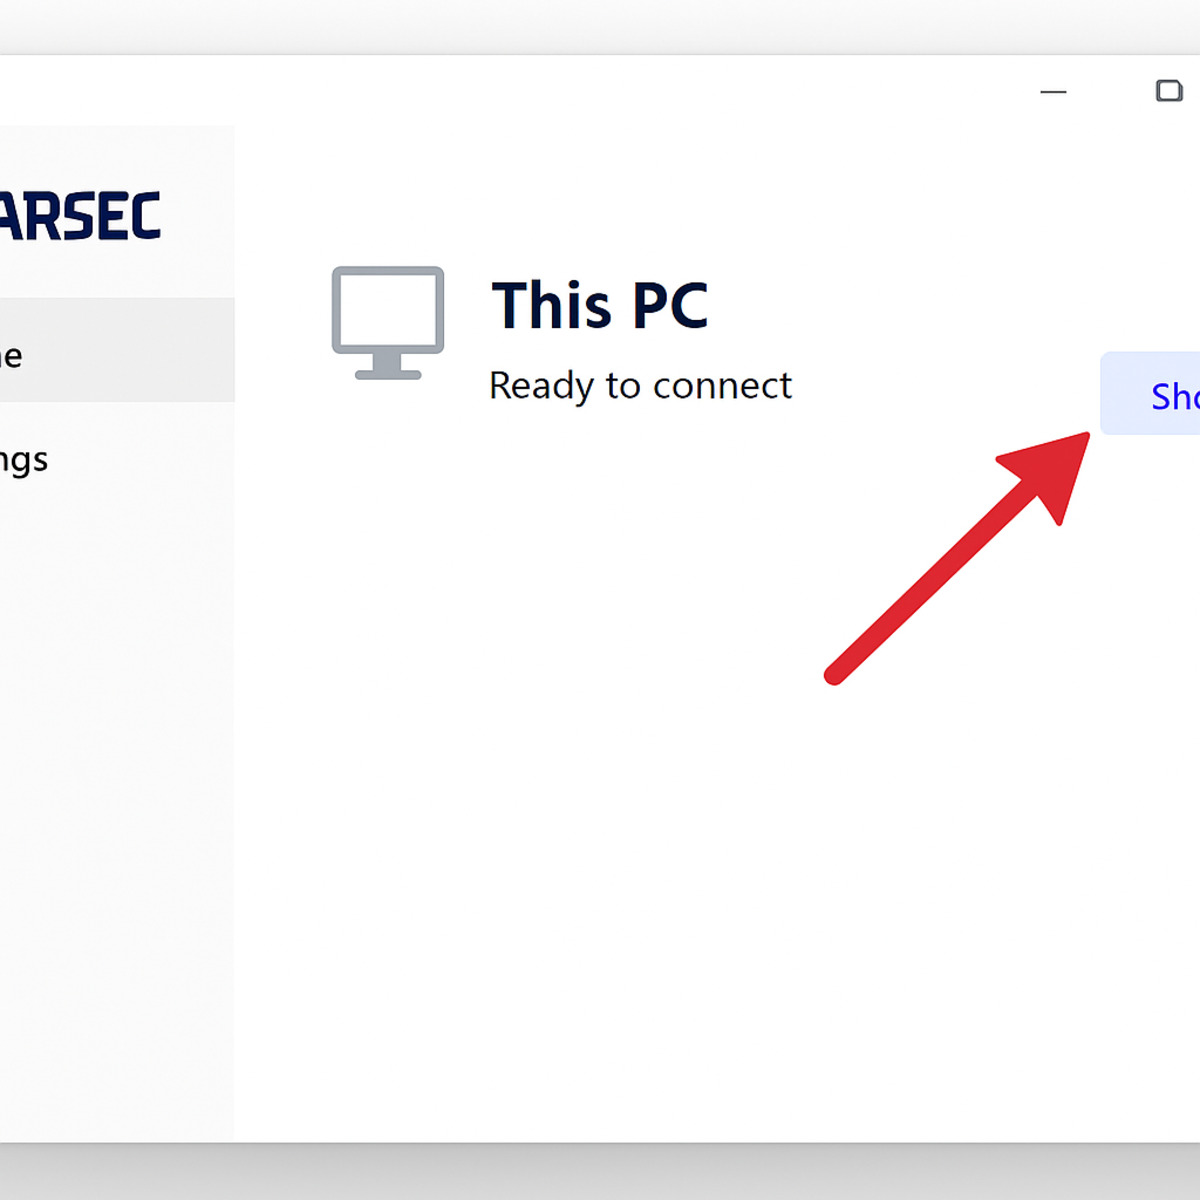
- Generate a Share Link: With your game running in the background, open the Parsec app. On the ‘Computers’ tab, you’ll see your PC’s name. Click the Share button to generate a unique, private link.
- Invite Your Friend: Send that link to your friend through any messaging app. That’s it!
Once your friend clicks the link, you will get a notification asking to approve their connection. Accept it, and they will immediately see your game screen. Parsec will automatically detect their controller, and after you grant permission, they’ll be able to play as if they were sitting right next to you.
The Traditional Method: How ‘Netplay’ in RetroArch Works
While screen-sharing with Parsec is like setting up a virtual couch, the traditional “netplay” built into emulators like RetroArch works on a completely different principle. Instead of streaming your entire screen, netplay only sends your controller inputs—the button presses themselves—over the internet. Your computer and your friend’s are running the exact same game at the same time, and netplay simply ensures your virtual controllers are synchronized.
The biggest advantage of this method is a massive reduction in input lag—that annoying delay between when you press a button and when your character actually responds. Because it’s only sending tiny pieces of data instead of a full video stream, the connection is much faster and more responsive. For timing-sensitive games like Street Fighter II or Super Smash Bros., this is a game-changer.
This perfect synchronization, however, comes with a strict rule: both players must have an identical setup. This means using the same emulator, the same emulator core (the specific “virtual console” running the game), and the exact same game ROM file. If any one of these elements doesn’t match, the games will quickly fall out of sync and the connection will fail.
Setting Up RetroArch for a Flawless Netplay Session
With the “strict rule” of netplay in mind—that everything must match—it’s time to get your setup in order. There are three essential pre-flight checks to perform inside RetroArch to ensure your virtual console is ready, your identity is set, and your games are easy to find.
First, install the “virtual console,” or core, for the system you want to play. From the RetroArch main menu, navigate to Online Updater, then select Core Downloader. Here you’ll find a long list of emulators for different systems. To play a Super Nintendo game like Turtles in Time, for example, you would scroll down and select SNES (Snes9x – Current). Your friend must download the exact same core.
Next, set your online name so your friends can identify you. Go back to the main menu, head into Settings, then User. In this menu, fill in the Username field with your desired online handle. This is the name that will appear in netplay lobbies.
Finally, make your games appear in a clean, browsable list. From the main menu, select Import Content and then Scan Directory. Navigate to the folder where you’ve stored your game ROMs and select <Scan This Directory>. RetroArch will automatically identify your games and add them to its own menu, complete with box art.

How to Host or Join a Game with RetroArch Netplay
With all your settings in place, launch the multiplayer classic you want to play. Once the game is running, open RetroArch’s Quick Menu (usually by pressing the F1 key). Inside this menu, scroll down to the Netplay option. Here, select Start Hosting, and your game session will be live and waiting for a challenger.
Your friend can find your game using a feature called the Relay Server. Think of it as a central meeting point that handles all the complicated internet traffic for you. As long as the Publicly Announce Netplay and Use Relay Server options are turned On (they are by default), RetroArch does the heavy lifting, listing your game in a public lobby.
For your friend, the process is even simpler. Instead of loading the game themselves, they will navigate to the Netplay tab from the RetroArch main menu and select Refresh Netplay Host List. After a moment, they should see your username and the game you are hosting. All they need to do is select your session and choose Connect to Host. RetroArch will automatically load the correct core and game, and you’re playing together.
Parsec vs. RetroArch Netplay: Which One Is Right for You?
You’ve now seen two powerful ways to play classic games online, but they excel in different situations. Parsec offers virtual screen-sharing, while RetroArch’s netplay synchronizes two separate copies of the game. This fundamental difference leads to a clear trade-off: simplicity versus performance.
- Choose Parsec if… you want the absolute easiest setup, your friend is not tech-savvy, or the host has a very fast upload speed to handle the video stream.
- Choose RetroArch Netplay if… you’re playing a fast-paced game where input lag is critical (like a fighter or shooter), you’re both willing to do some initial setup, or the host’s internet can’t handle streaming.
Ultimately, Parsec offers incredible convenience, getting you into a game in minutes. RetroArch’s method requires more effort but rewards you with a more responsive connection that’s less demanding on the host’s upload bandwidth. No matter which you choose, a poor connection can still introduce lag.
The #1 Problem: How to Fix Emulator Netplay Lag and Stuttering
You’ve connected, the game is running, but it feels like you’re playing underwater. Lag is the final boss of online multiplayer, and its cause depends on the method you’re using. When a game stutters, the connection between you and your friend isn’t stable enough to keep things in sync.
With Parsec, lag is almost always a one-way problem. If you’re hosting and your friend is seeing lag, try lowering the streaming resolution or bandwidth limit in Parsec’s settings. It’s like switching from an HD broadcast to standard definition—it demands less from your internet connection and can create a much smoother experience.
RetroArch netplay lag, on the other hand, is a shared problem. Because it works by keeping both games in perfect lockstep, a connection hiccup on either person’s end will cause both games to stutter while they wait to re-sync. The system is only as strong as its weakest link.
The single best fix for netplay lag is to ditch the Wi-Fi and plug in an Ethernet cable. Wi-Fi is prone to random interference from walls, microwaves, or other networks, causing tiny moments of instability that wreck netplay performance. A direct, wired connection is the most reliable way to stabilize your game.
Bonus Guide: How to Play GameCube & Wii Games Online with Dolphin
For classics like Super Smash Bros. Melee or Mario Kart: Double Dash!!, the undisputed champion is the Dolphin emulator. It’s a specialized program for GameCube and Wii games, and its built-in online system is one of the best in the emulation scene.
Getting a game going is refreshingly straightforward. Dolphin places a “Netplay” button right on its main toolbar, which opens a connection window. One person selects the “Host” tab and chooses the game. Your friend then opens the same window and clicks the “Join” tab.
To connect without sharing IP addresses, Dolphin uses its “Traversal Server.” When you host a game, Dolphin gives you a simple, eight-character “Host Code” (like ABCD-EFGH). Your friend just has to type that code into their “Join” tab and click connect. This server handles the tricky network coordination for you, making it the easiest way to start playing GameCube Mario Kart online.
This system is so responsive because it uses a smart technology often called “rollback netcode,” which excels at hiding minor internet lag. Because of this advanced emulation, the simple code is often all you’ll ever need.
What to Do When Your Friend Can’t Connect
If your friend gets a dreaded “Connection Failed” error, the solution is often surprisingly simple. Nine times out of ten, connection errors happen because the two players’ game setups aren’t perfectly identical. Before doing anything else, triple-check that you both are using the exact same version of the emulator, the same core, and the exact same game file (ROM).
If you’ve confirmed everything matches and you still can’t connect, the problem might be your home network. Your internet router acts like a security guard and can sometimes block incoming connections it doesn’t recognize. To fix this, you may need to do something called port forwarding—telling your router to open a specific door so your friend’s game can get through.
You can access your router’s settings by typing an address like 192.168.1.1 into your web browser. The exact address, username, and password are often printed on a sticker on the bottom of your router. Once inside, look for a menu item labeled “Port Forwarding” or “Virtual Servers” to begin the process.
Your Next Game Night is Set: Go Enjoy the Classics
That old dream of playing classic games with friends across the country is no longer just a nostalgic “what if.” You now have a clear roadmap for how to play emulated games online, understanding the key choices that stand between you and a virtual game night.
For a hassle-free evening, start with the simplest path: Parsec. It’s the fastest way to get a game running. Once you’re comfortable, you can graduate to your emulator’s built-in netplay for a more direct connection. Don’t be discouraged if it takes a try or two—getting the settings right is a normal part of the process, not a sign you’ve failed.
Ultimately, the goal was never to become a tech expert. It was to recapture the fun of retro gaming and hear your friend’s excited cheer over voice chat again. You have the guide. Now, go send that game night invite.